Chapter 2. First steps
In the following section we describe how to login to ReportServer. Please note, that the login procedure and dialog might be different from the one described here, depending on the setup in your organization. For more information you should contact your system administrator.
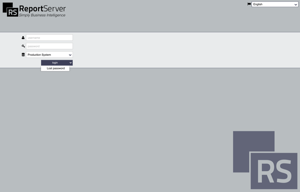
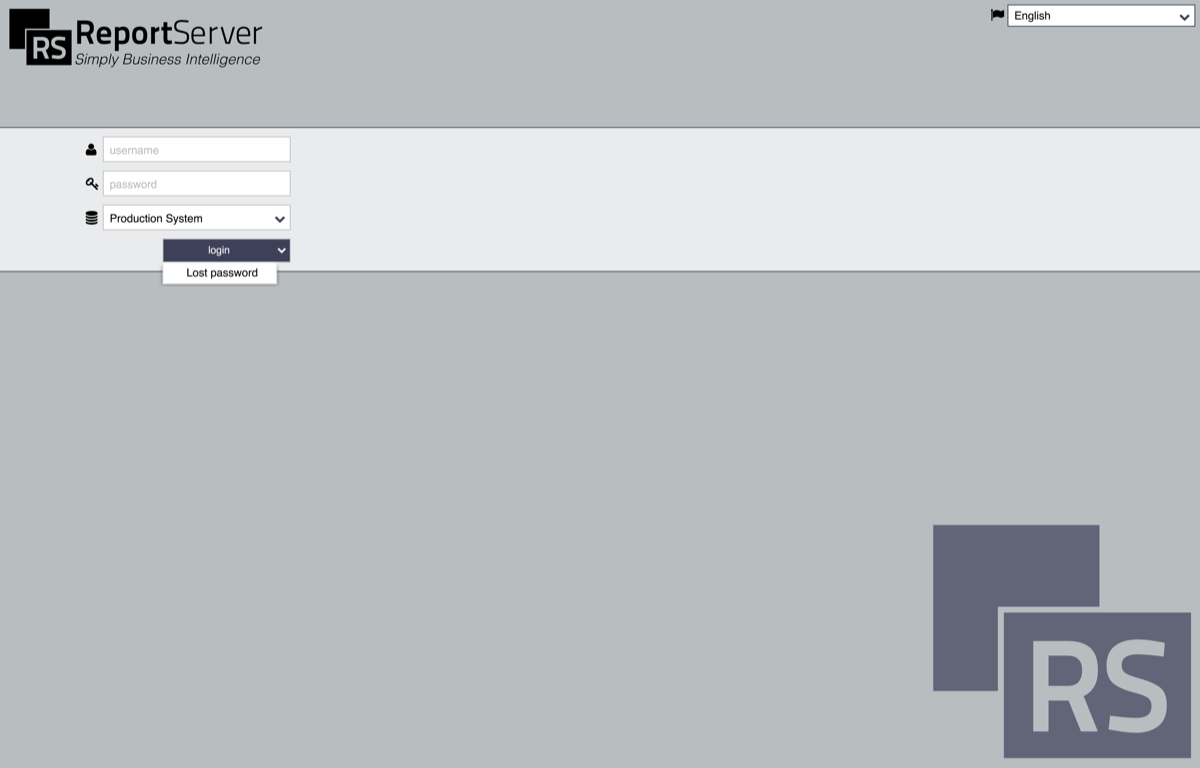
The basic login page asks you to provide your username and password. The button (on the bottom left) allows you to select your language. Additional options might be available. Please contact your system administrator for more information on customer specific extensions.
To login please provide your
- username
- password
Please note that, depending upon the configuration of ReportServer, repeated failed login attempts may lead to your account becoming blocked. In this case you can only login again after a waiting period, or if your account is unblocked manually by an administrator.
In case you have forgotten your password, click on the small arrow next to the submit button and select . Provide your username to receive an email with instructions on how to set up a new password.
Note that your administrator may disable the ''lost password'' button. This is described in the Configuration Guide.
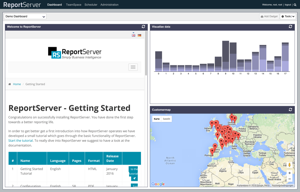
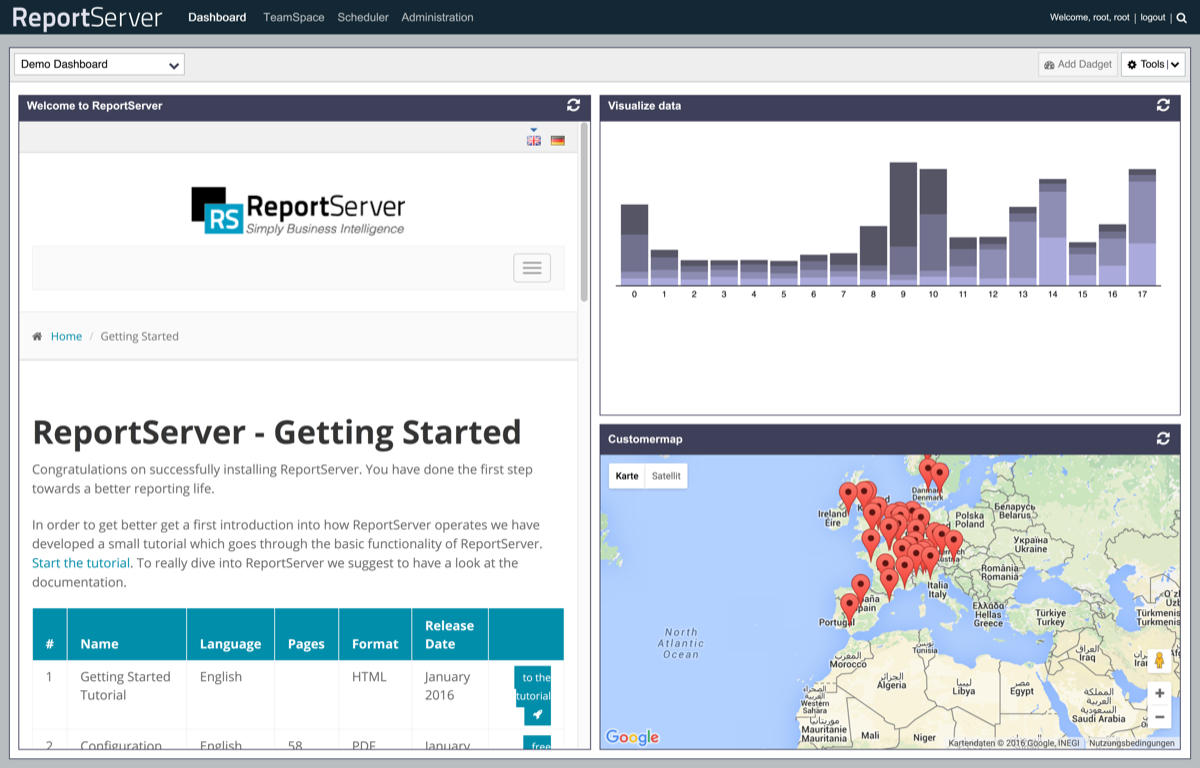
After an successful login to ReportServer the main module is automatically loaded. ReportServer consists of several modules. Which of them are accessible depends upon the configuration and your account's permissions. The currently displayed module is selected via the module bar on the upper edge of the display. On the right upper corner you'll find the global search function and with a click on your name you can open your account's profile where you can set several properties regarding your account. In the user profile you will also find the option to change your password. On the lower border of the screen is the so called status bar. Here you can find additional information on the system state provided by your administrators.
Your main workspace within ReportServer is the TeamSpace. To access the TeamSpace module click on in the module bar. The TeamSpace module provides custom workspaces for all teams in your organization. In ReportServer's terminology a team is a group of users of arbitrary size, that work on shared report objects. Users can easily be grouped into teams and can manage their own team via a simple role based permission scheme. Thus it is for example possible to invite a user as guest to a TeamSpace, such that this user cannot make any changes.
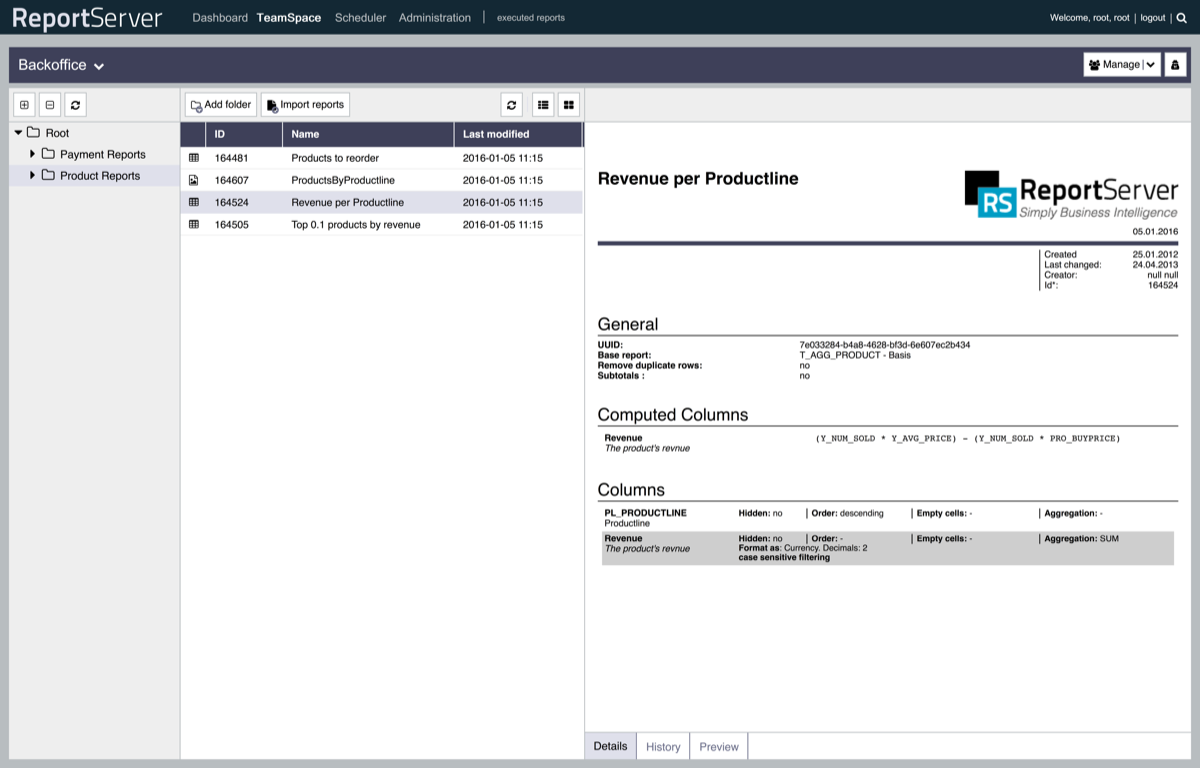
The TeamSpace is structured similarly to a file explorer (e.g., your standard Windows-Explorer). It provides a folder structure which allows organizing the various report objects. The left panel you see a overview of all the folders in this TeamSpace.
By clicking on a folder this folder is opened in the center-panel (content area). By default the root folder is displayed here. You can change the appearance of the content area with the buttons next to in the toolbar.
The details view (right panel) provides additional information to the currently selected object. Depending on the object several information tabs are displayed which allow navigating between the information.
You open an object by double click. A right click on an object opens a context menu which contains several commands for the selected object. You can move objects to a different folder by simply dragging them into the target folder.
More information on the TeamSpace module is given in the Chapter 3.
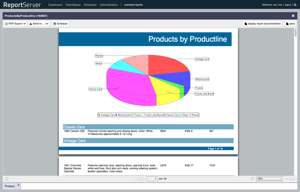
On a high level ReportServer distinguishes between two kinds of reports. On the one hand there are reports that were prepared and which are usually graphically designed. Such reports are commonly provided by administrators (resp., report designers). The creator of the report may include parameters that allow you to customize the visualized data. The possible parametrization is thus fully determined by the report designer. Such reports are especially suitable for print and are usually exported to PDF. Other export formats are however possible.
The dynamic list on the other hand is a report format that empowers you to fully customize the report to your needs. You can freely select the data included in the report and decide upon a possible post processing. All configuration is summarized in a documentation for that particular list such that these individual analyses remain transparent and fulfill possible audit requirements. Dynamic lists can be exported into a variety of formats such as Excel or PDF. Once an analysis is fully configured it can be stored as a variant which allows the report to be run at any point with up to date data.
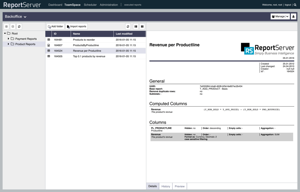
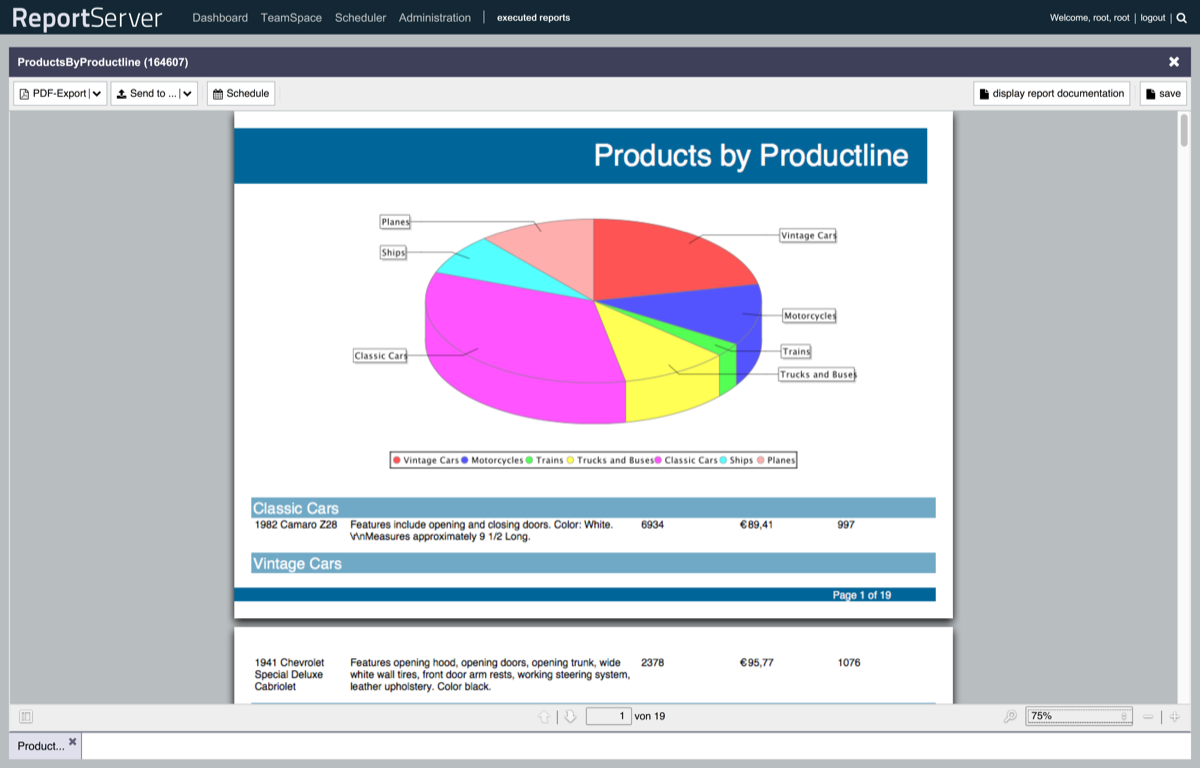
To open a report double click on the corresponding report object in the content area of the TeamSpace. A new item appears in the module bar which allows access to all currently open reports. After the last report is closed the module again disappears. If more than one report is open, you can easily switch between the reports using the tabs on the bottom edge. To close a report click on the icon on the tab or right click a tab and select from the context menu.
Depending on the type of a opened report different so called aspects are available. The toolbar contains general commands to export or save the current report. To switch between the several aspects of the open report chose the corresponding aspect on the left edge. To, for example, see a preview of the report, chose the aspect . Via the export menu in the toolbar you can export the report to various formats and, for example, locally store the result as PDF on your computer.
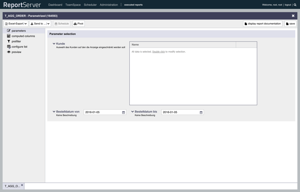
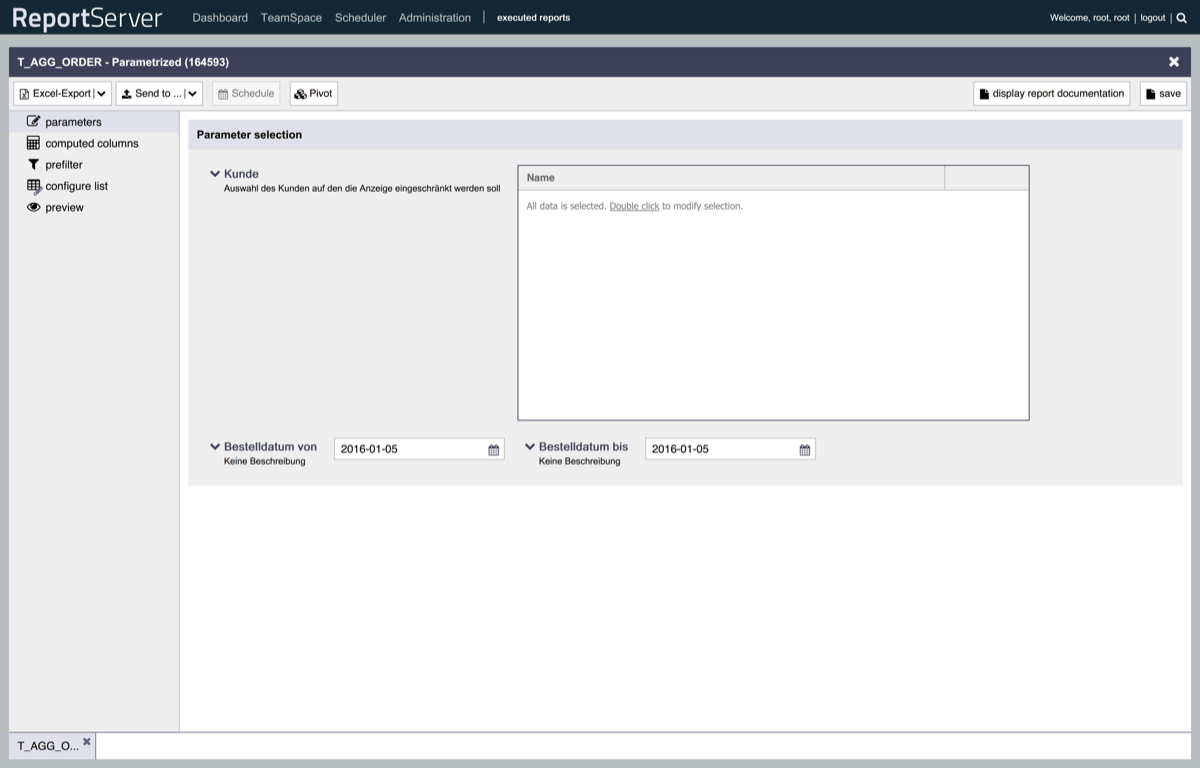
If available the aspect Parameters allows you to configure the report via options provided by the report designer. The report designer can chose between several parameter types from simple text input fields to specific parameters for dates or lists.
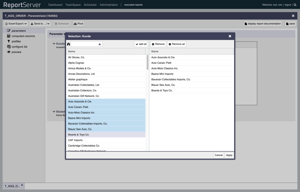
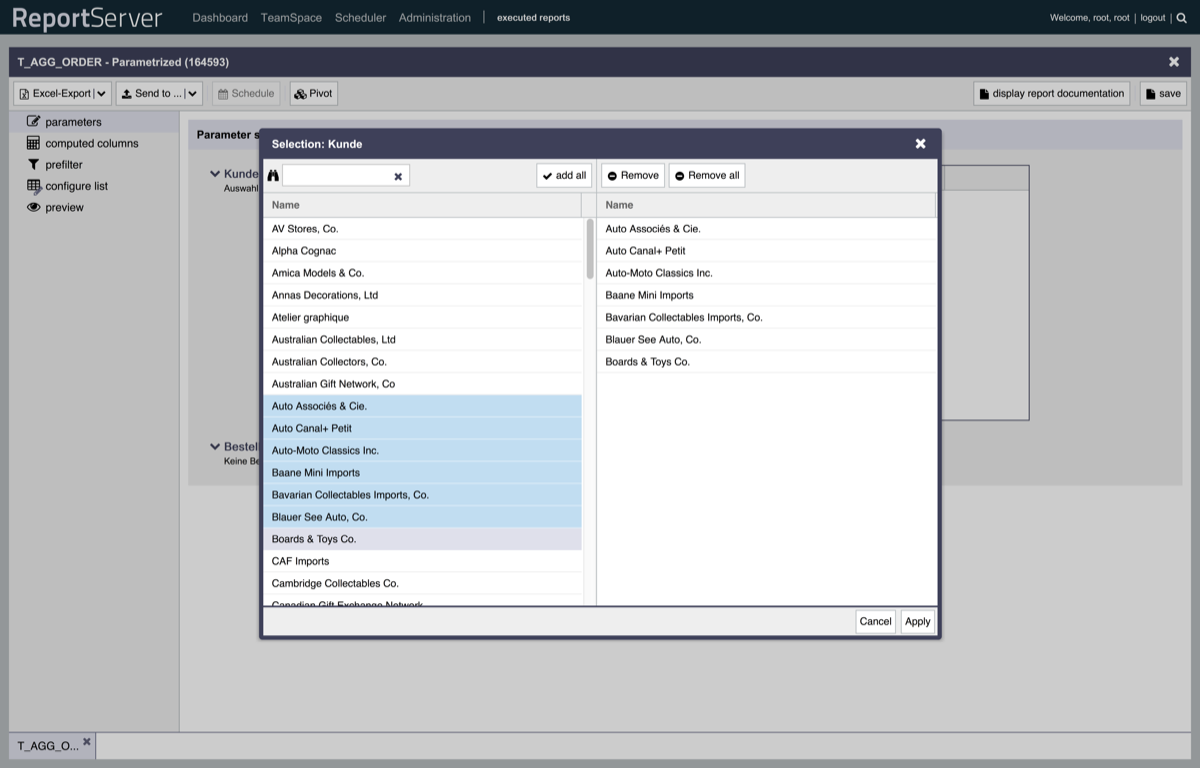
Via their context menu (right click) you can reset a parameter to its default value. The list parameter is configured via double click on the displayed grid. This opens a popup which allows selecting a subset of values from a given list. In the left half you see all available values. Via double click or drag and drop you can select from within those. The selected values are displayed in the right half. The button allows to quickly select select all available values. Note that by convention, no selection is equivalent to not taking the parameter into account. Via the buttons and you can remove values from your selection.
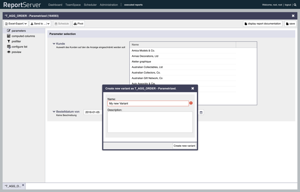
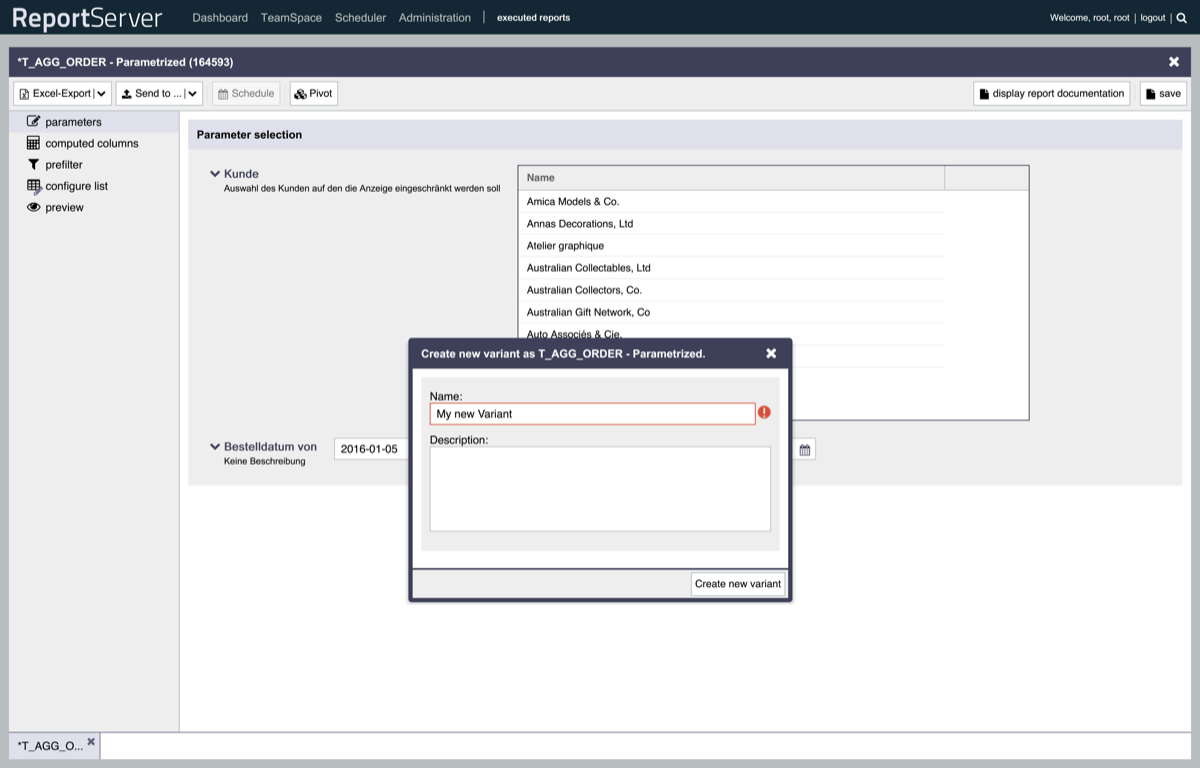
The configured report can be stored as a new report object to your TeamSpace. We usually refer to such an object as a report variant. A variant contains all the metadata generated by the configuration. It does however not contain the actual data. The data is only loaded into the report during execution. The report documentation provides a quick overview on the report's configuration. It documents your work and your variants can thus be easily understood also by a third party, for example, during an audit.